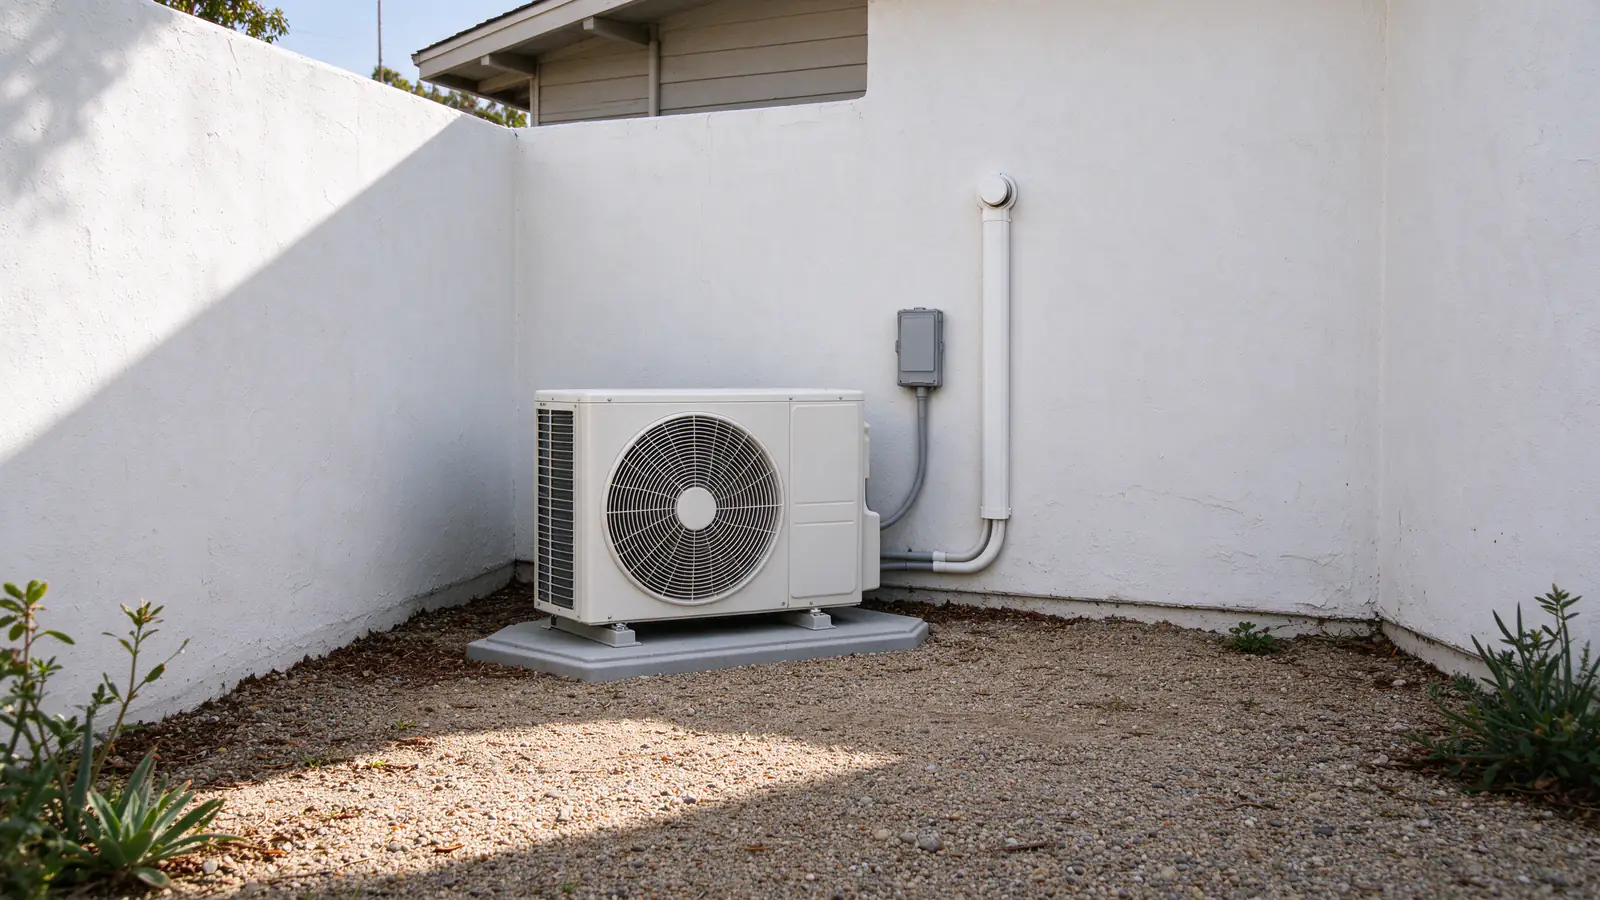
Good mini split outdoor unit placement puts the unit where it gets free airflow on every side the manufacturer specifies, can be reached for service, sits on stable support and keeps the line set short. In the City of San Diego it must also stay 4 feet from the property line in a required side or rear yard unless sound attenuation shows it meets the noise limits.
Mesa Mini Split San Diego installs mini splits across San Diego County, with the work done by licensed and insured contractors holding the California C-20 (HVAC) license, and the outdoor location is settled on the site visit before equipment is ordered. This guide covers the outdoor unit first, because it constrains everything else, then the indoor head.
What the outdoor unit’s location has to provide
An outdoor unit is a heat exchanger with a fan. In cooling mode it throws the room’s heat into the air around it; in heating mode it pulls heat out of that air and periodically defrosts its coil, shedding water at its base. Every good location gives it the same things.
Airflow. The coil draws air through the back and sides and blows it out the front or top, depending on the design. If the discharge air hits a wall or fence and loops back to the intake, the unit breathes its own hot air and loses capacity on exactly the afternoons it is needed. The manual for each model lists minimum clearances behind, beside, in front and above; they differ between models, so the installer works from that page.
Service access. A technician needs room to remove the service panel, connect gauges and reach the disconnect. A unit squeezed behind a gas meter or a hose bib can work but costs more every time it is serviced.
Drainage and support. The base needs to be level and stable, and the defrost water needs somewhere to go that does not pond under the unit or run onto a walkway.
Exposure. Near the ocean, salt air corrodes aluminum coil fins. One manufacturer’s installation manual tells installers to choose a location where the unit is not directly exposed to salt, which in practice favors the side of the house away from direct onshore wind. No manufacturer publishes a distance-from-the-ocean rule; the coastal vs inland guide covers coil coatings and exposure.
Distance from bedrooms. Placing the unit away from your own and your neighbor’s bedroom windows is the cheapest noise control there is. The noise guide explains how ratings translate to what a neighbor hears.
San Diego rules for side and rear yards
On older lots in coastal San Diego and North Park and Mid-City, the side yard is often the only practical place for the unit, and it is also where the City’s rules apply most directly.
The San Diego Municipal Code lets air conditioner units encroach into required side and rear yards in residential zones if at-grade equipment sits at least 4 feet from the property line. It waives that setback where sound attenuation features are incorporated and shown to comply with the City’s sound level limits. Those limits, measured as one-hour averages at or beyond the property line, are:
| Zone | 7 a.m. to 7 p.m. | 7 to 10 p.m. | 10 p.m. to 7 a.m. |
|---|---|---|---|
| Single-family residential | 50 dB | 45 dB | 40 dB |
| Multifamily (up to 1 unit per 2,000 sq ft) | 55 dB | 50 dB | 45 dB |
| All other residential | 60 dB | 55 dB | 50 dB |
Inside the Coastal Overlay Zone, the same encroachment is not allowed in required yards within view corridors designated by land use plans. A coastal lot can therefore lose the side-yard option altogether on the side that faces a designated view corridor. Front yards are rarely a good location for practical and appearance reasons, and they carry their own setbacks.
What changes from January 1, 2027
SB 222, enacted as Chapter 738 of the Statutes of 2026, adds sections to the Government Code that limit what a city or county can require for a residential heat pump HVAC installation. From January 1, 2027, additional setback standards may not exceed 3 feet in side yards and backyards or 10 feet in front yards. The City of San Diego has not yet published how it will apply this to its 4-foot rule, so placement on a narrow side yard is confirmed per address with the permit, and the permits guide will track the change.
Pad, wall bracket or roof
Mounting also shows up in the price, as the installation cost guide explains. A pad at grade is the default: a composite or concrete pad, set level, raises the unit above soil and splash and gives defrost water a place to drain. It is the easiest mount to service.
A wall bracket lifts the unit off the ground, which helps where a side yard is a narrow walkway, the ground slopes or the yard floods. The bracket has to be anchored into framing, not just stucco, and it can transmit vibration into the wall, so isolation pads under the feet matter. The City’s Information Bulletin 103 requires plans and a building permit when supporting structure has to be altered for equipment support, and structural calculations when equipment exceeds 400 pounds or its center of gravity sits more than 4 feet above its base.
A roof stand is the last resort on most houses. It needs structure, a watertight attachment, wind resistance and safe service access, and it puts the unit closer to upstairs windows.
The same bulletin’s wording on new pads on grade outside the building footprint is open to more than one reading, so the mounting method is confirmed with the permit rather than assumed.
Line length and elevation limits
Every model publishes a maximum total line length, a maximum height difference between the indoor and outdoor units, and often a minimum length. Multi-zone units add limits per branch and for all branches combined. These limits exist because the refrigerant has to carry oil back to the compressor and arrive at the right pressure; past them, capacity drops and the compressor’s lubrication suffers. Long runs may also need refrigerant added to the factory charge.
This matters most for multi-zone systems, where one outdoor unit has to reach several rooms. On a two-story house with the outdoor unit at grade, or a hillside lot where the unit sits well below the house, the height difference can rule out the closest location. The installation process guide explains how the line set is routed and tested once the location is set.
Line-hide and the route on the wall
Exterior lines usually run inside a line-hide cover, a painted channel that protects the insulation from sunlight and keeps the wall tidy. Fewer elbows and a short vertical run look better and cost less; a route that wraps a corner to reach a hidden side yard trades appearance for length. In condos and HOA communities the route is often the visible part, and Civil Code 4738, effective January 1, 2027, limits how an association can restrict a code-compliant cooling system in a member’s separate interest; the condo installation page covers the details.
Where the indoor head goes
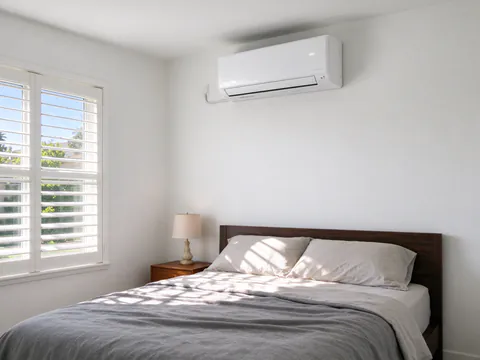
The indoor head’s job is to throw conditioned air across the room. A wall head usually sits high on a wall with a clear path to the far side of the room, a short distance below the ceiling so it can draw air back, and away from where people sit or sleep in the direct airstream. Above a door or window works when there is enough wall height and the head clears the trim; above a bed is a common request but puts the air on the sleeper. An exterior wall keeps the line set and drain short. The indoor unit types guide compares wall, cassette, floor and concealed duct heads and how each throws air.
Before the site visit
Walk the outside of the house and note where a unit could sit, how far that is from the property line and from bedroom windows, whether the ground is level, and which way the onshore wind comes from. Then call or request an estimate; the site visit measures the route, checks the electrical path covered in the electrical requirements guide and confirms the setback that applies. The single-zone installation page shows how this fits into a one-room job.